Benefits of using a cable management arm
A cable management arm can improve your experience when using sliding shelves and rails. Cable management is widely discussed in the IT industry, but cable management arms are often forgotten about even though they are essential for quick deployment when using a slide shelf or rail.
What is a cable management arm
Now, imagine that one of those servers is on a slide shelf, and a technician needs to pull it out. In order to do this, they would need to disconnect all cables from the server as they become strained. This would at the very least, reduce redundancy in the network or in a less ideal situation, require downtime.
That potential situation might convince someone to save money by choosing to rack with static rails instead of slide. Unfortunately, static rails put users in an even more time consuming situation by forcing them to remove equipment on top of what they need to access. The only other option is to leave empty space, reducing efficiency.
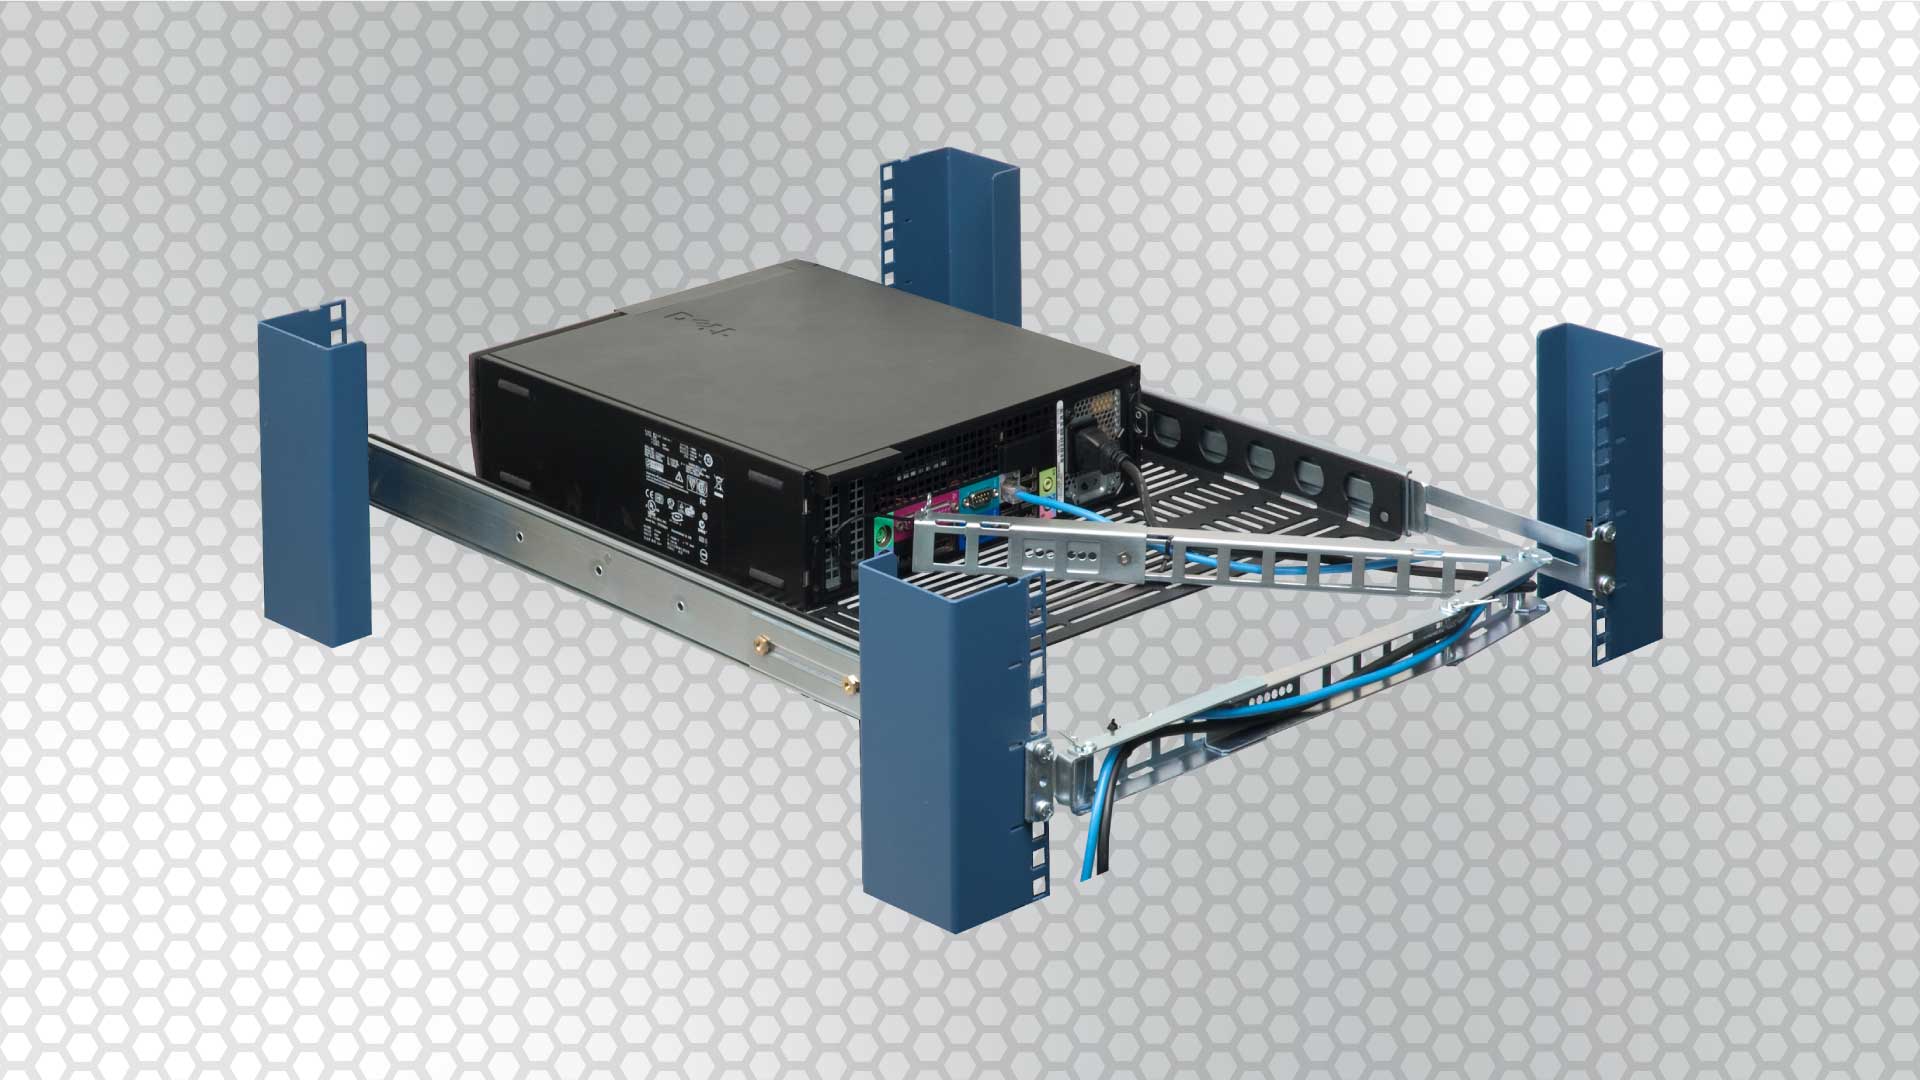
What a cable management arm does is allow technicians to have the best of both worlds. They can have the ease of access with slide rails while cable slack is managed for them when it is being pulled out.
How to install management arms
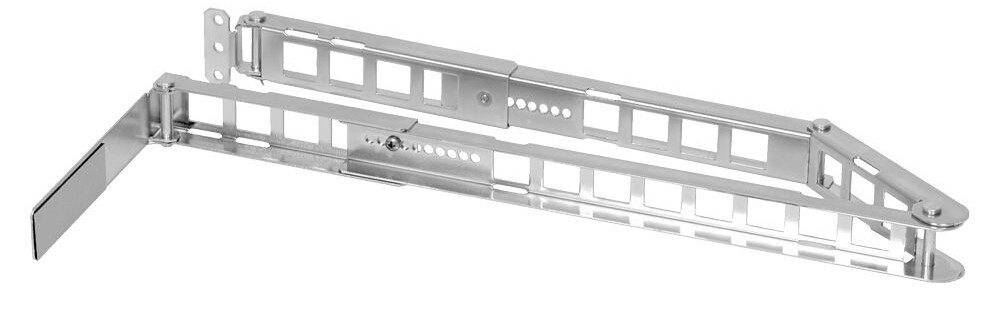
Although cable management arms often come packaged with rails, they never come pre-assembled. Before anything, make sure the U height of the cable management arm matches the U height of the associated rail.
Cable management arms need to be installed at the same time as the rail. This is because they will share screws and nuts with the rail itself.
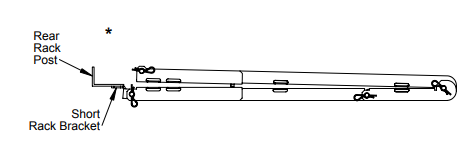
Next, the rack brackets connect to the cylindrical metal piece of the cable management arm. This simultaneously attaches the arm to the rack while allowing it to swivel.
Last, the arm needs to be attached to the IT equipment that is in the rail or shelf. It needs to be attached directly to the equipment so that it can move along with it and so the cables will be in an ideal position. There are a few ways to do this.
The RackSolutions cable management arm comes with zip ties, a looped lanyard and a chassis bracket. If there is a way to attach zip ties or the lanyard to your chassis, this will be the cleanest method.
If there is nowhere to attach a zip tie or lanyard, then you will need to adhere the chassis bracket onto the side of your IT equipment. The adhesive will be of your choice, but double sided adhesive tape is recommended as it is strong, clean and can be removed easily.
How to use a cable management arm
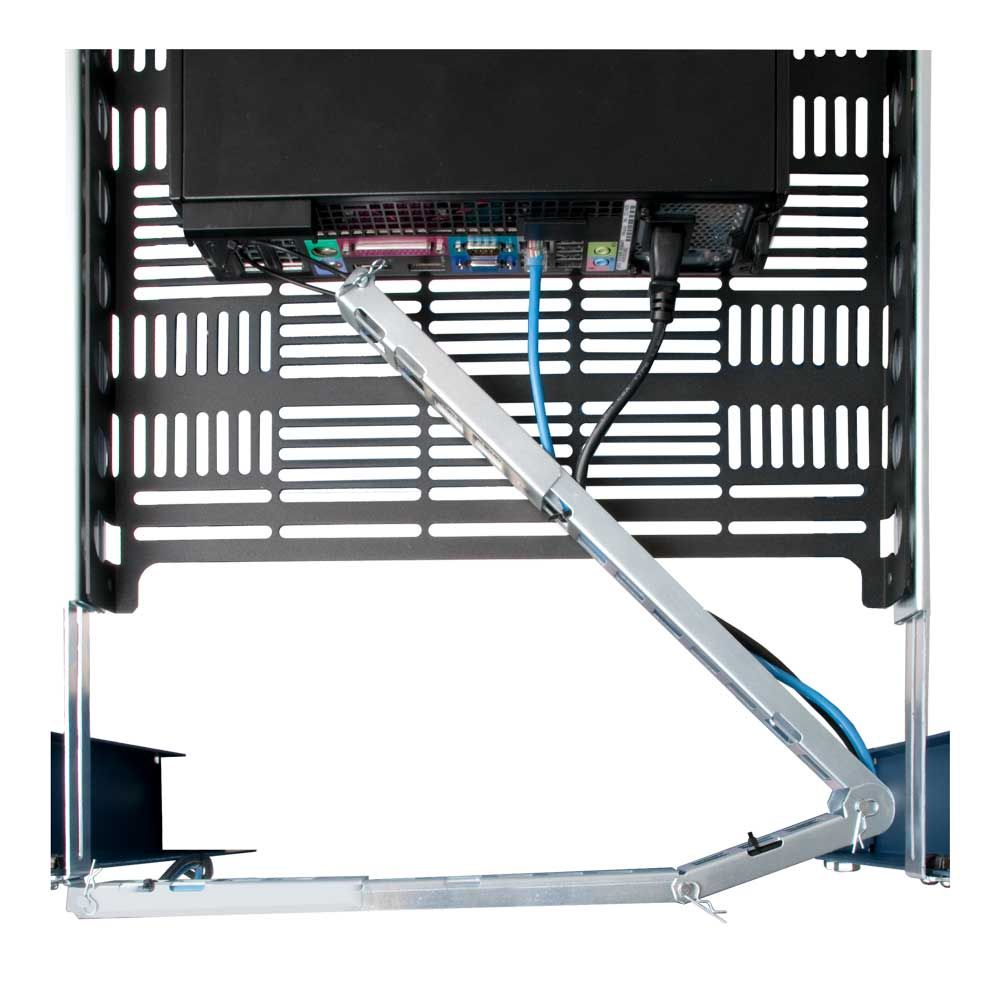
If the arm is set up correctly, it should be very close to the rear I/O on your equipment. You will be able to route cables up through the arm or connect cables then route out of the arm depending on your preference.
There are holes running along the cable management arm either for Velcro® strap or zip ties. Use these to comfortably secure the cables along the arm. There should be enough slack to accept some movement, but not much is necessary because of how the arm is designed.
Test that the cables are seated correctly by sliding out your rail or shelf. If everything works, you should be ready to route your cables throughout your horizontal cable management bar and towards the vertical cable management bar.
Need more help?
There are no cable management issues that we can’t solve. Let us know if things aren’t working out and we’ll do our best to recommend a fix.